


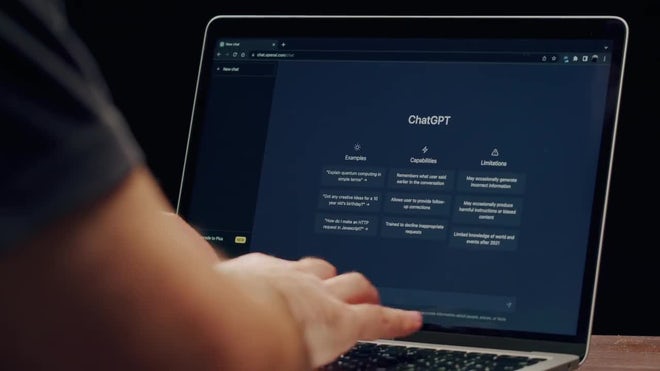
Creating a website or webpage that utilizes ChatGPT
Creating a website or webpage that utilizes ChatGPT can be a valuable way to provide interactive and dynamic content to your visitors. While I can't provide an actual article, I can guide you through the process of creating a basic webpage that incorporates ChatGPT. Here's a step-by-step outline:
1. Define the Purpose:
Determine the purpose of your webpage and how ChatGPT will enhance the user experience. For example, you could use ChatGPT for answering frequently asked questions, offering personalized recommendations, or providing conversational content.
2. Set Up Your Development Environment:
Ensure you have the necessary tools and resources for web development, including a code editor and a local development server.
3. Choose a Web Development Stack:
Select the technology stack for your webpage. Common choices include HTML, CSS, and JavaScript. You'll also need a server-side language (e.g., Node.js, Python) for interacting with the ChatGPT API.
4. Obtain OpenAI API Access:
Sign up for access to the OpenAI API (if you haven't already) and obtain your API key. You'll need this key to make requests to ChatGPT.
5. HTML Structure:
Create the HTML structure for your webpage. This might include the header, navigation menu, and the main content area where the ChatGPT chat interface will be embedded.
6. CSS Styling:
Apply CSS styles to make your webpage visually appealing. Consider how you want the chat interface to look and feel in terms of color, fonts, and layout.
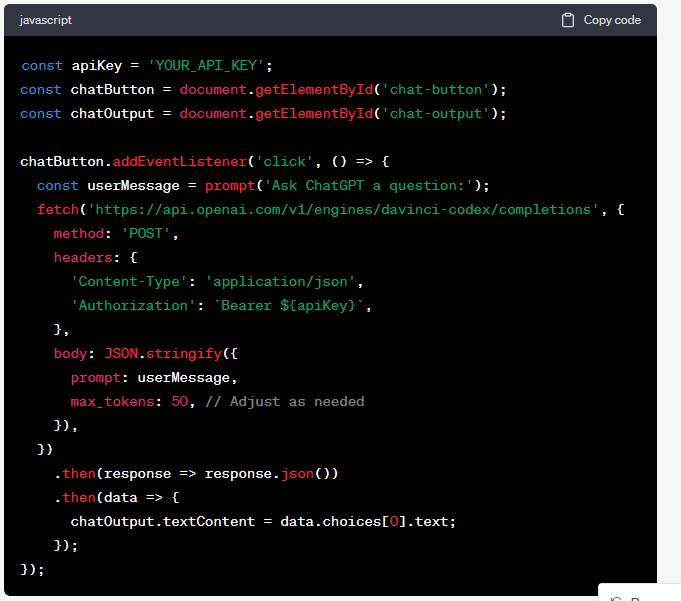
7. JavaScript Integration:
Use JavaScript to integrate the ChatGPT functionality. You can use the OpenAI API to send user queries to ChatGPT and receive responses.
Example JavaScript code to integrate ChatGPT:
Copy code
const apiKey = 'YOUR_API_KEY';
const chatButton = document.getElementById('chat-button');
const chatOutput = document.getElementById('chat-output');
chatButton.addEventListener('click', () => {
const userMessage = prompt('Ask ChatGPT a question:');
fetch('https://api.openai.com/v1/engines/davinci-codex/completions', {
method: 'POST',
headers: {
'Content-Type': 'application/json',
'Authorization': `Bearer ${apiKey}`,
},
body: JSON.stringify({
prompt: userMessage,
max_tokens: 50, // Adjust as needed
}),
})
.then(response => response.json())
.then(data => {
chatOutput.textContent = data.choices[0].text;
});
});
8. User Interaction:
Create a user interface for interacting with ChatGPT. This could be a chatbox where users type questions, and the responses are displayed.
9. Testing:
Thoroughly test your webpage to ensure that the ChatGPT integration works as expected. Check for any issues with the chat interface and responses.
10. Deployment:
Host your webpage on a web server, and make it accessible to users on the internet.
11. User Education:
If your ChatGPT-based features have specific use cases or instructions, provide user education or guidance on how to make the most of the chat functionality.
12. Feedback and Iteration:
Gather user feedback and continuously improve your webpage based on their needs and preferences.
Remember that this is a simplified overview of creating a webpage with ChatGPT integration. The specifics will depend on your project's goals and requirements. Additionally, be sure to follow OpenAI's usage guidelines and terms of service when implementing ChatGPT in your webpage.2. Choose Your AI Tools:


.jpg)